Ellab and DataTrace loggers can be used to collect heat penetration data. CALSoft 6 allows you to directly import the time/temperature data from CSV files created by Ellab and DataTrace software. This allows you to create a CALSoft Heat Penetration Data File from data you collected using Ellab or DataTrace loggers.
In order to use this feature:
- First, export the data from your wireless loggers and create a CSV file of the time/temperature data. Refer to the data logger vendor’s procedures to export data:
- For Ellab, navigate to Exporting Ellab Data to a CSV File.
- For DataTrace, navigate to Exporting DataTrace Data to a CSV File.
- A CALSoft data file stores time/temperature in a grid that includes 64 "channels" or columns. When you import your data into CALSoft, each channel will represent a specific logger as #1-64. It is recommended that you organize the spreadsheet of data so that the loggers (columns) are in order based on the corresponding Logger Number. CALSoft will import column #1 on the spreadsheet as channel #1 in CALSoft, column #2 as channel #2, and so on.
- Example… If you used 14 loggers in your HP test, 12 to record product temperature and 2 "free leads" located outside the containers to measure retort temperature, and those 14 loggers are numbered #21-34, you should make sure the loggers on your spreadsheet are ordered so that Logger #21 is the first column of temperature data, #22 is the second column, etc. This will make importing data more efficient and accurate.
- Before importing the data into CALSoft, make note of the following from your wireless logger data as you will need this to import the data:
- Date and Time that the test started (the first scan you want to import)
- Date and Time that the test ended (the last scan you want to import)
Exporting Ellab Data to a CSV File
To export wireless logger data from an Ellab file and create a CSV file of time/temperature data to import into CALSoft, follow these steps:
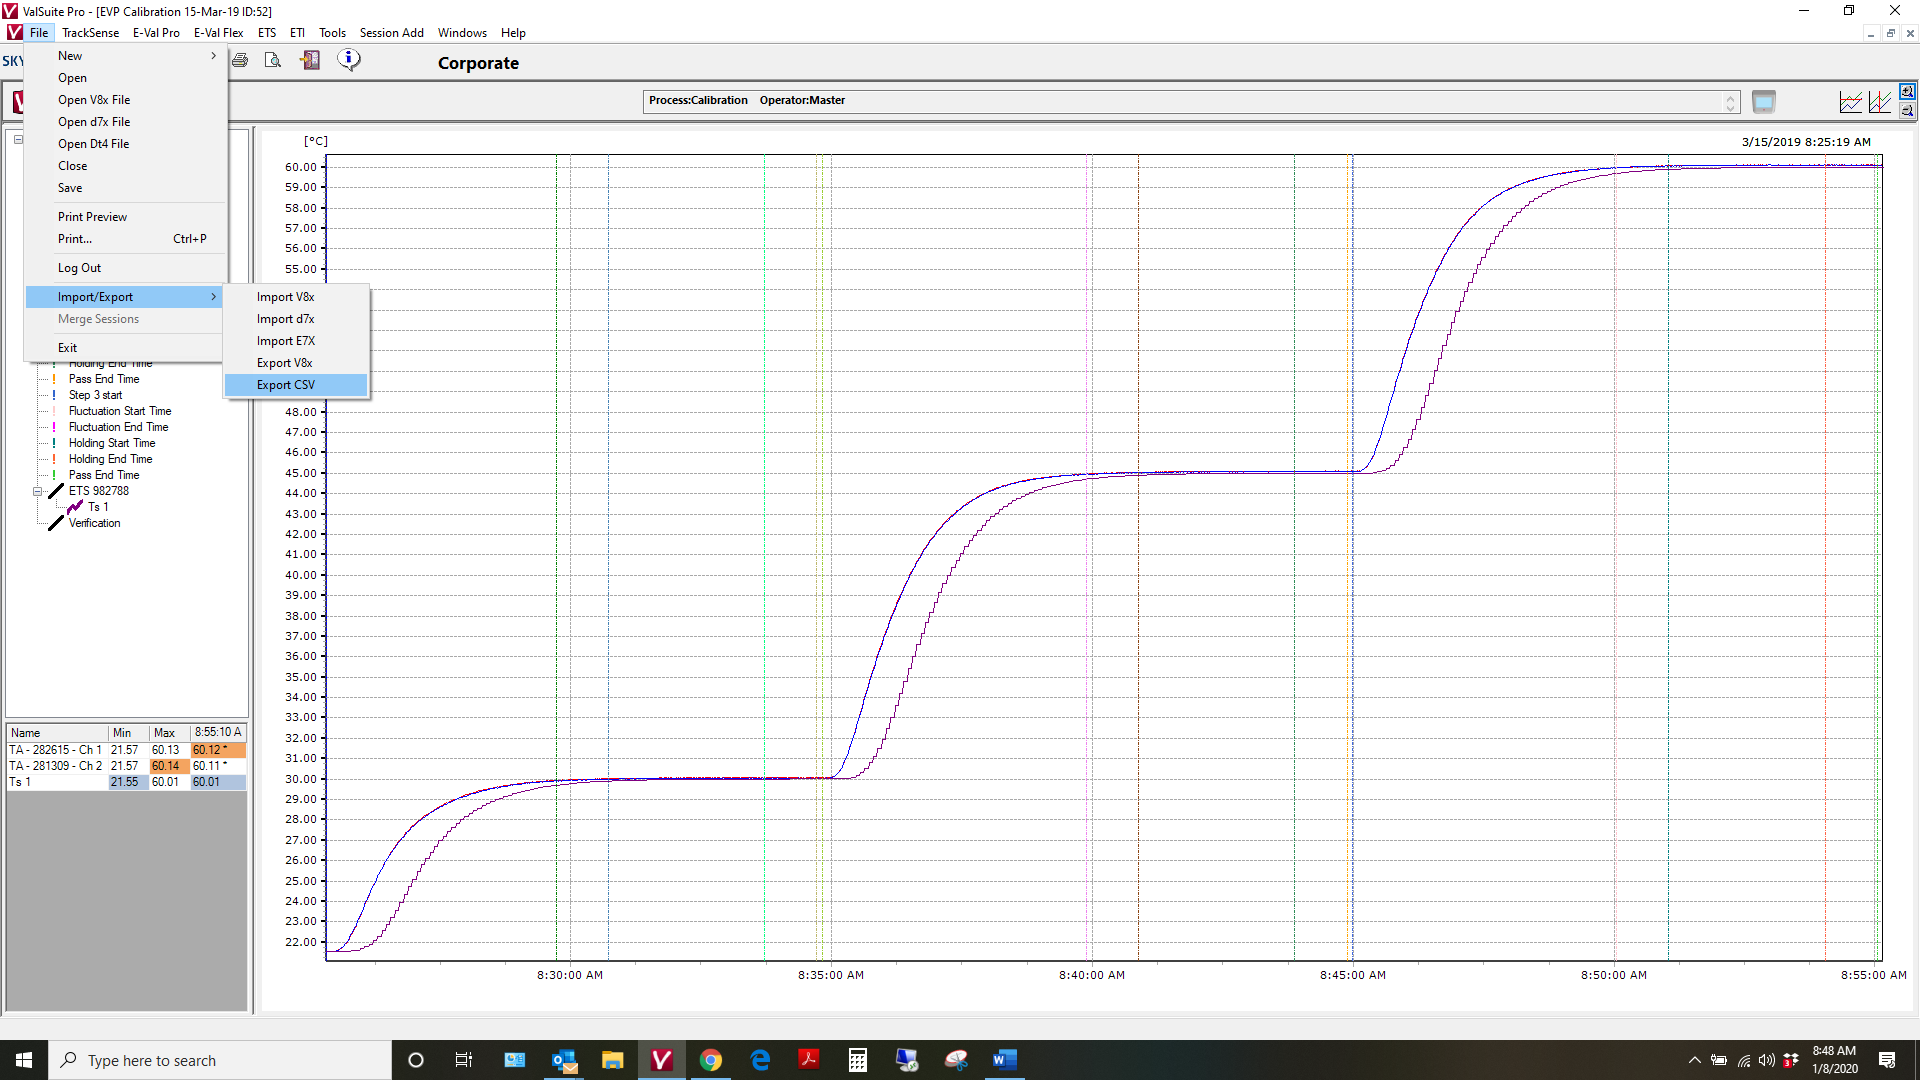
- Within ValSuite (Ellab wireless logger data software), on the file you wish to export, click "File"
- Select "Import/Export"
- Select "Export CSV"
- Choose the destination to save the file
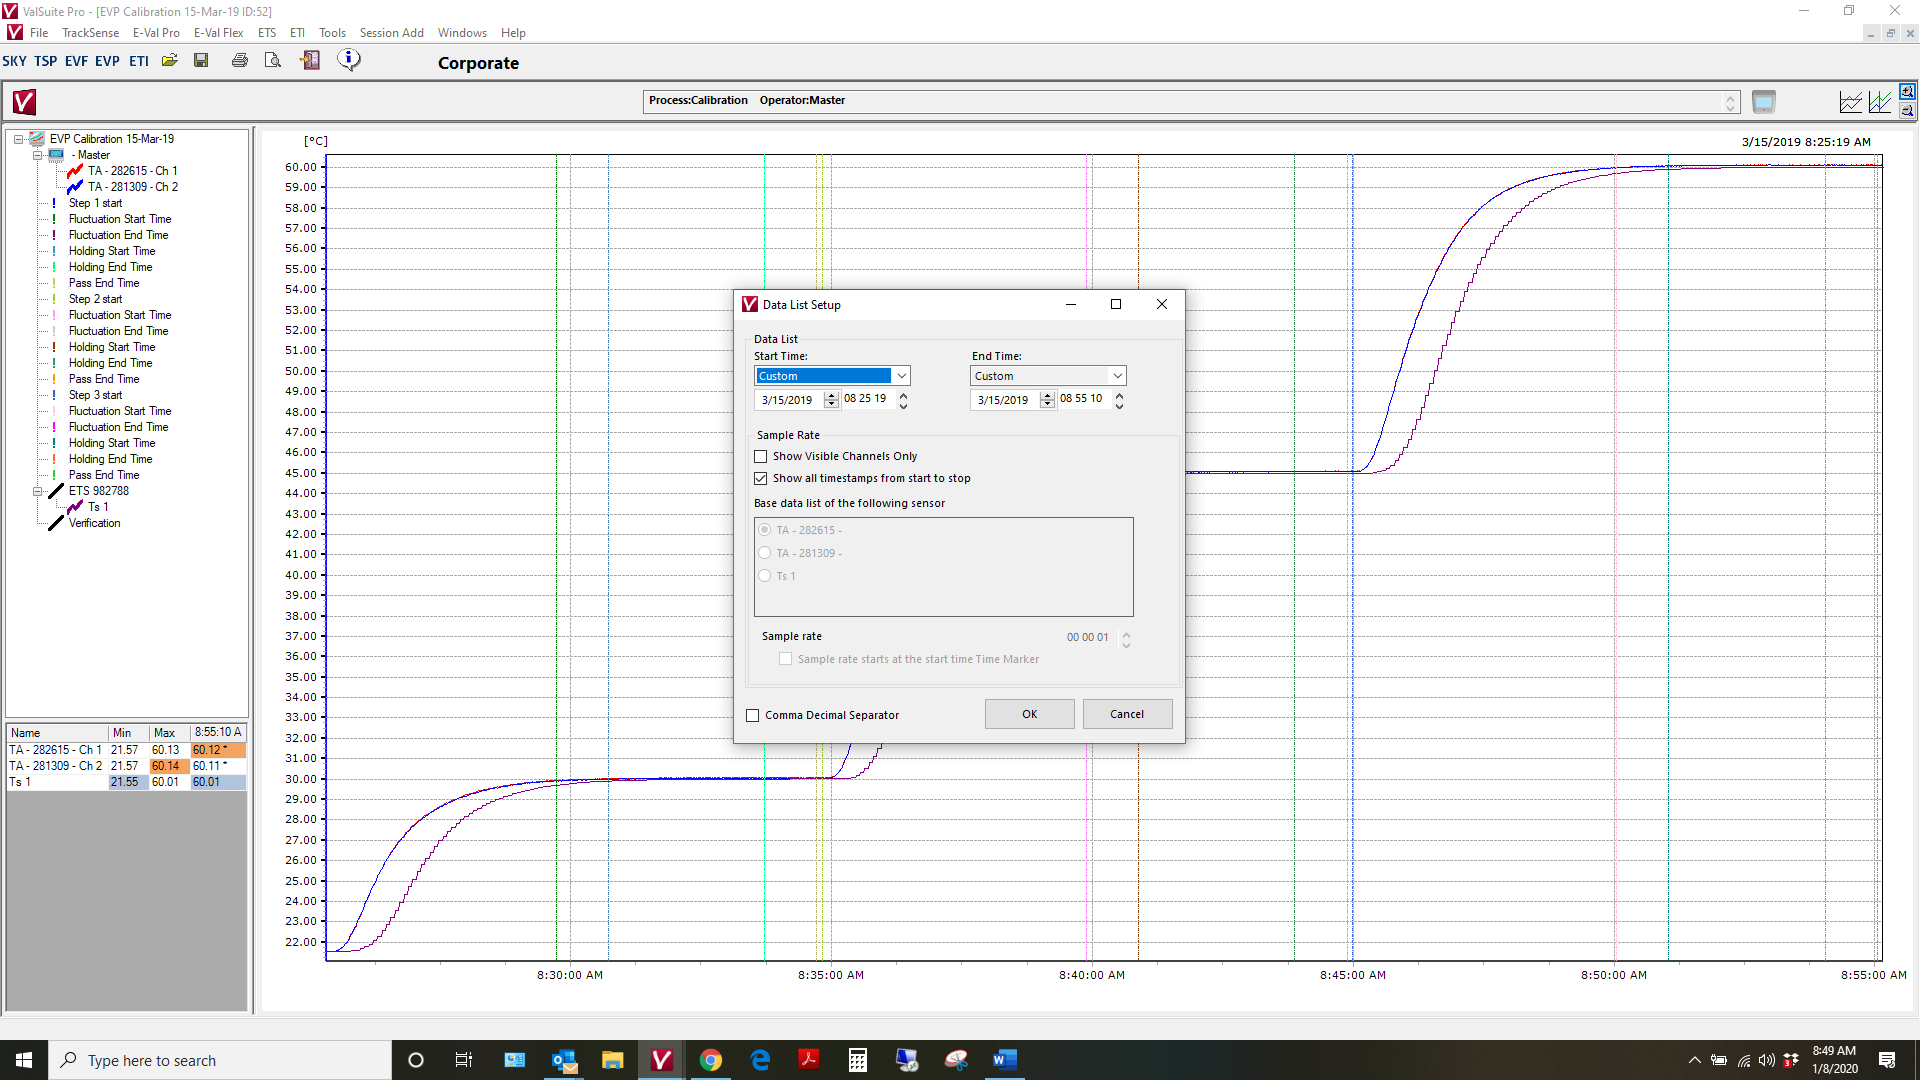
- Choose the set of data you wish to export by selecting appropriate time markers and channels
- Click "OK" and the CSV file will then be saved and ready to import into CALSoft to create a heat penetration data file
Exporting DataTrace Data to a CSV File
To export wireless logger data from a DataTrace file and create a CSV file of time/temperature data to import into CALSoft, follow these steps:
- Within the DataTrace wireless logger data software, navigate to the left panel and select "Configuration Tools" and click "Data Management"

- The Database Utilities Wizard will pop up... select the "Export Data (csv, tab or txt format)" option

- Choose which method you want to use to sort the exported data... either by Studies or by Date
and Time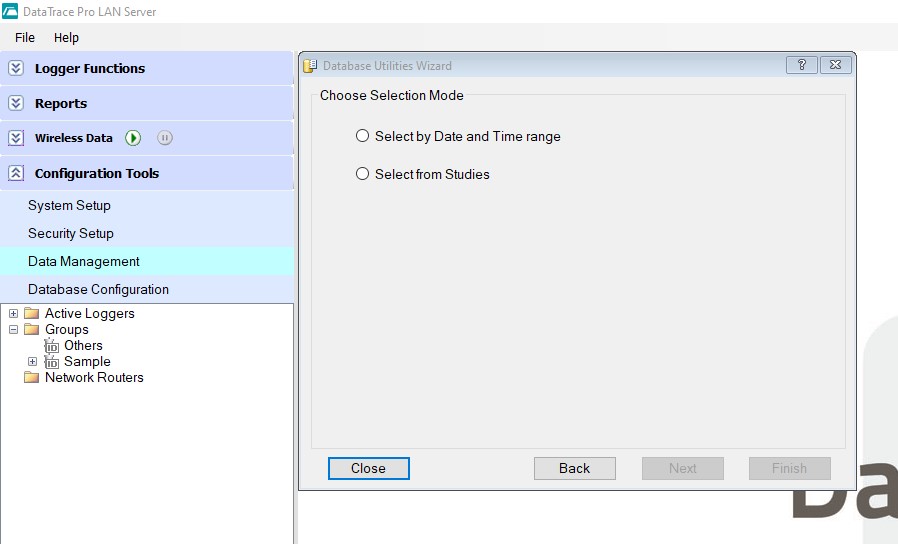
- For Studies, the next screen will allow you to select the Study you are interested in
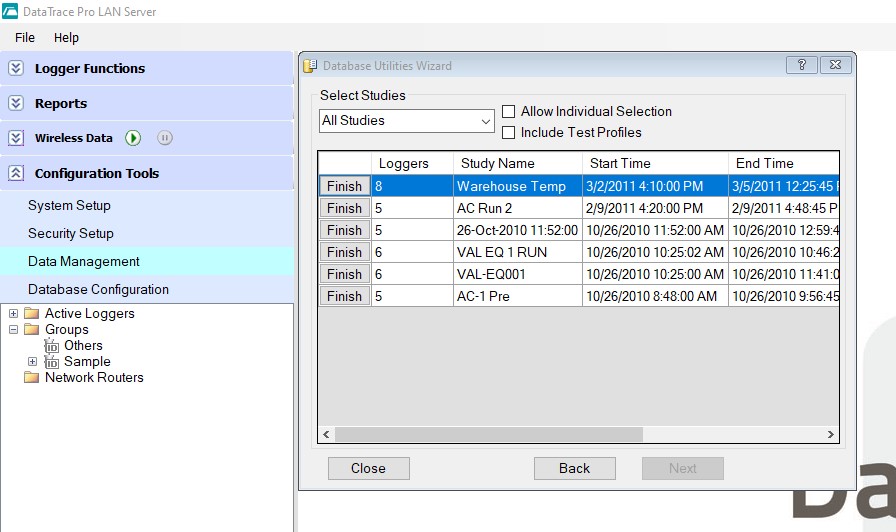
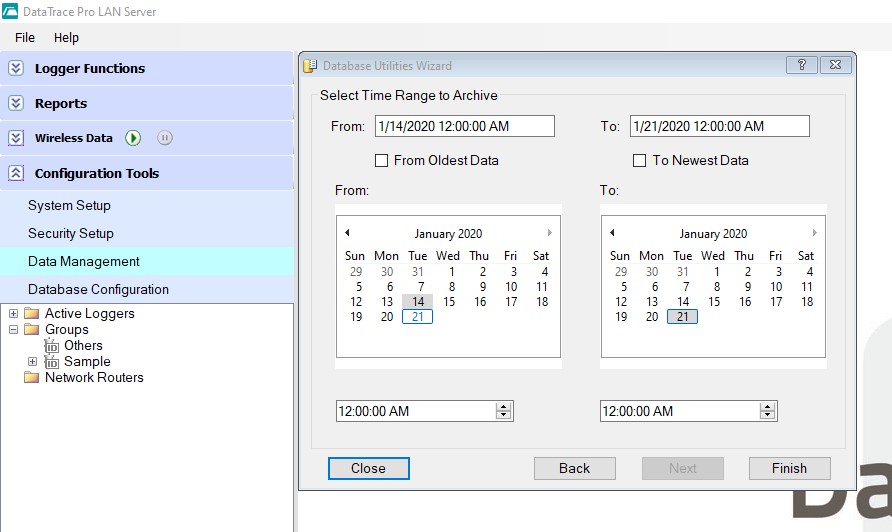
- For Date & Time selection, the next screen will allow you to select a time range (All data in the system in that time range will be exported)
- For Studies, the next screen will allow you to select the Study you are interested in
- The last screen is for selecting where and how you want to save the export. You will need to choose a location on your PC. The system defaults to saving as a .tab file, so to make it a CSV, you just need to change it in the drop-down.

- After saving the CSV file, it will be ready to import into CALSoft to create a heat penetration data file
Next, follow these directions to import the file into CALSoft:
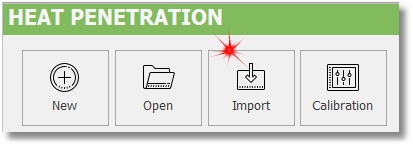
- Open CALSoft, go to the Heat Penetration section on the main dashboard, and click the "Import" button
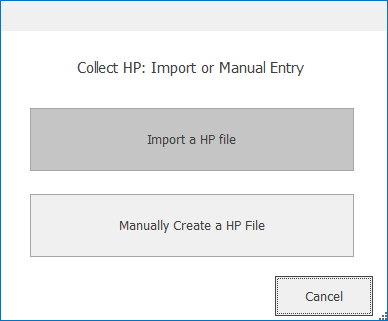
- Choose "Import a HP file"
- On the Import Screen, choose the type of CSV file from the drop-down list (Ellab or DataTrace)
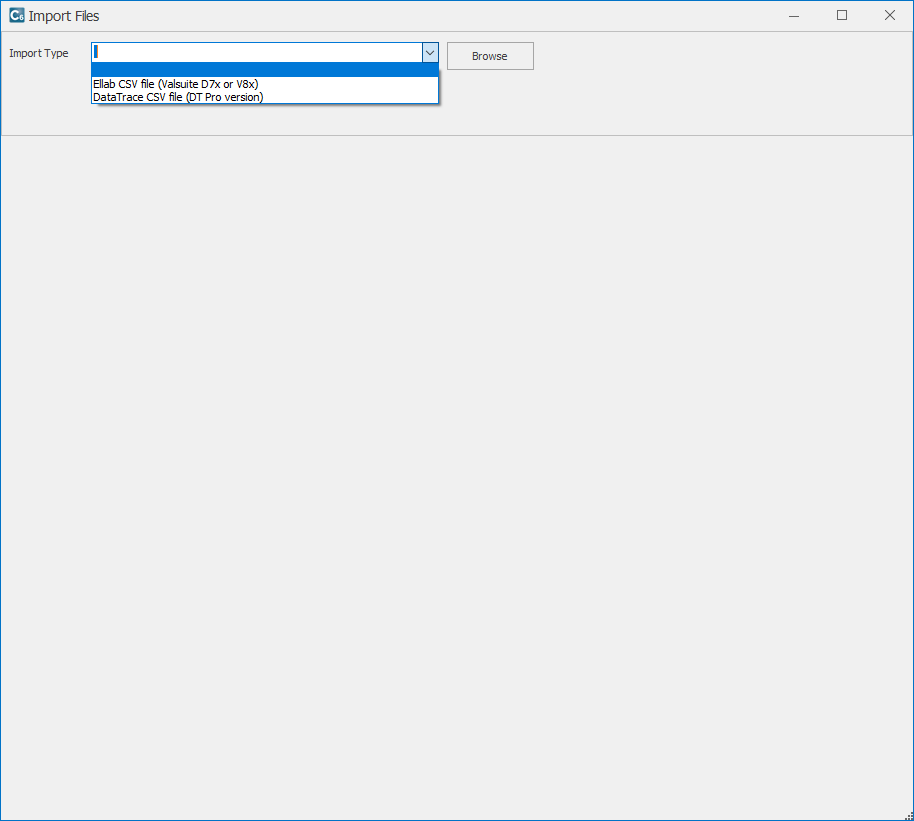
- Click "Browse" and find the CSV file to be imported
- The time/temperature data will show on the panel to the right.
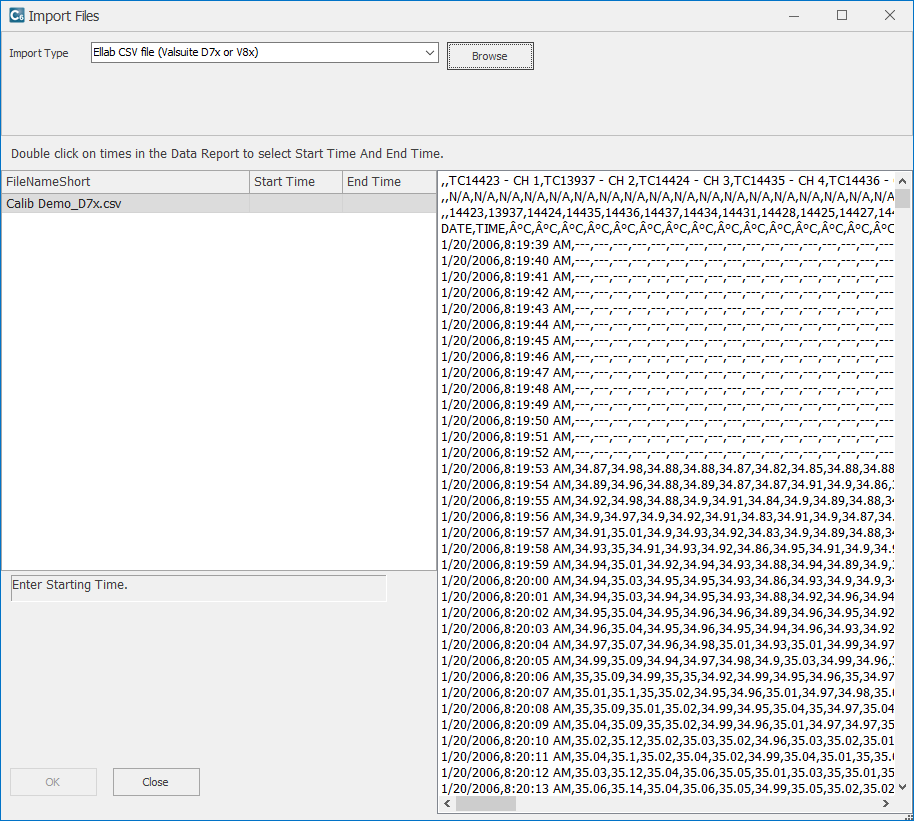
- Click on the "Start Time" field
- Scroll down to the scan that you want as the start of the test, then double click that row
- The "Start Time" will be populated based on that time

- Click on the "End Time" field
- Scroll down to the scan that you want as the end of the test, then double click that row
- The "End Time" will be populated based on that time
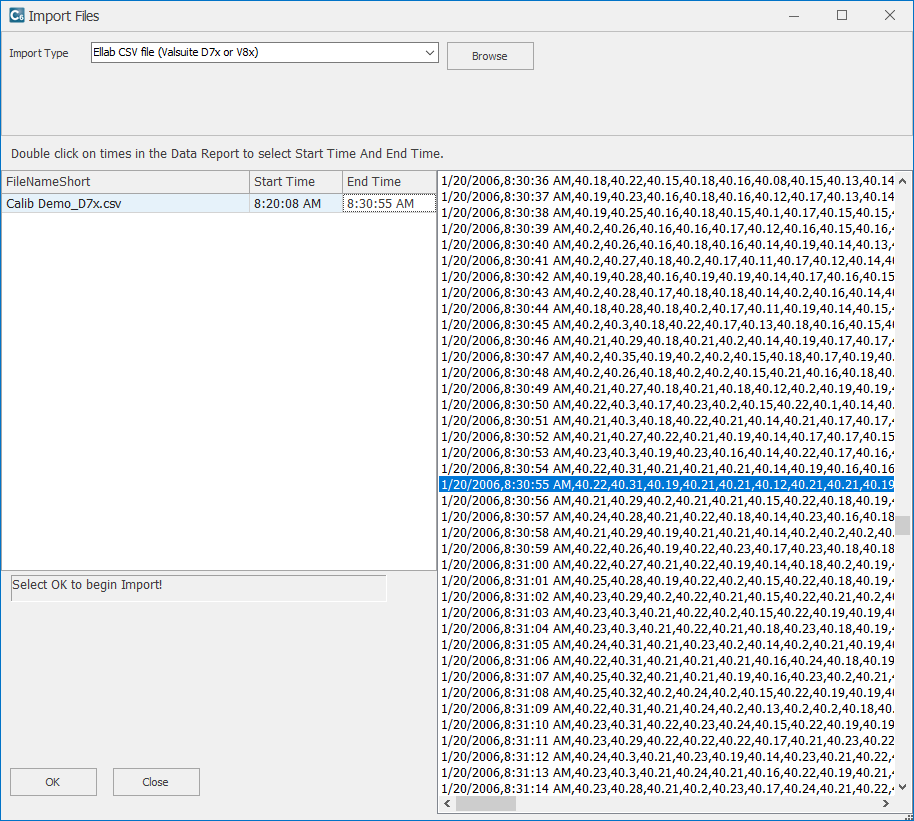
- Click "OK" and then click "OK" again on the message box
- CALSoft will ask you to name and save the file...
- Save the file by giving it a name. By default, CALSoft names the file as the Year, Month, Date and test number. So the first test on May 8, 2019 will be 19050801.chp. CALSoft defines a heat penetration file with the extension ".chp".
- CALSoft will ask you to select the temperature type and product type used for the HP test... select these and then click "OK"

- NOTE: if you get an error saying the data import was not successful, we recommend you try the Manual File Creation option instead of the direct file import.
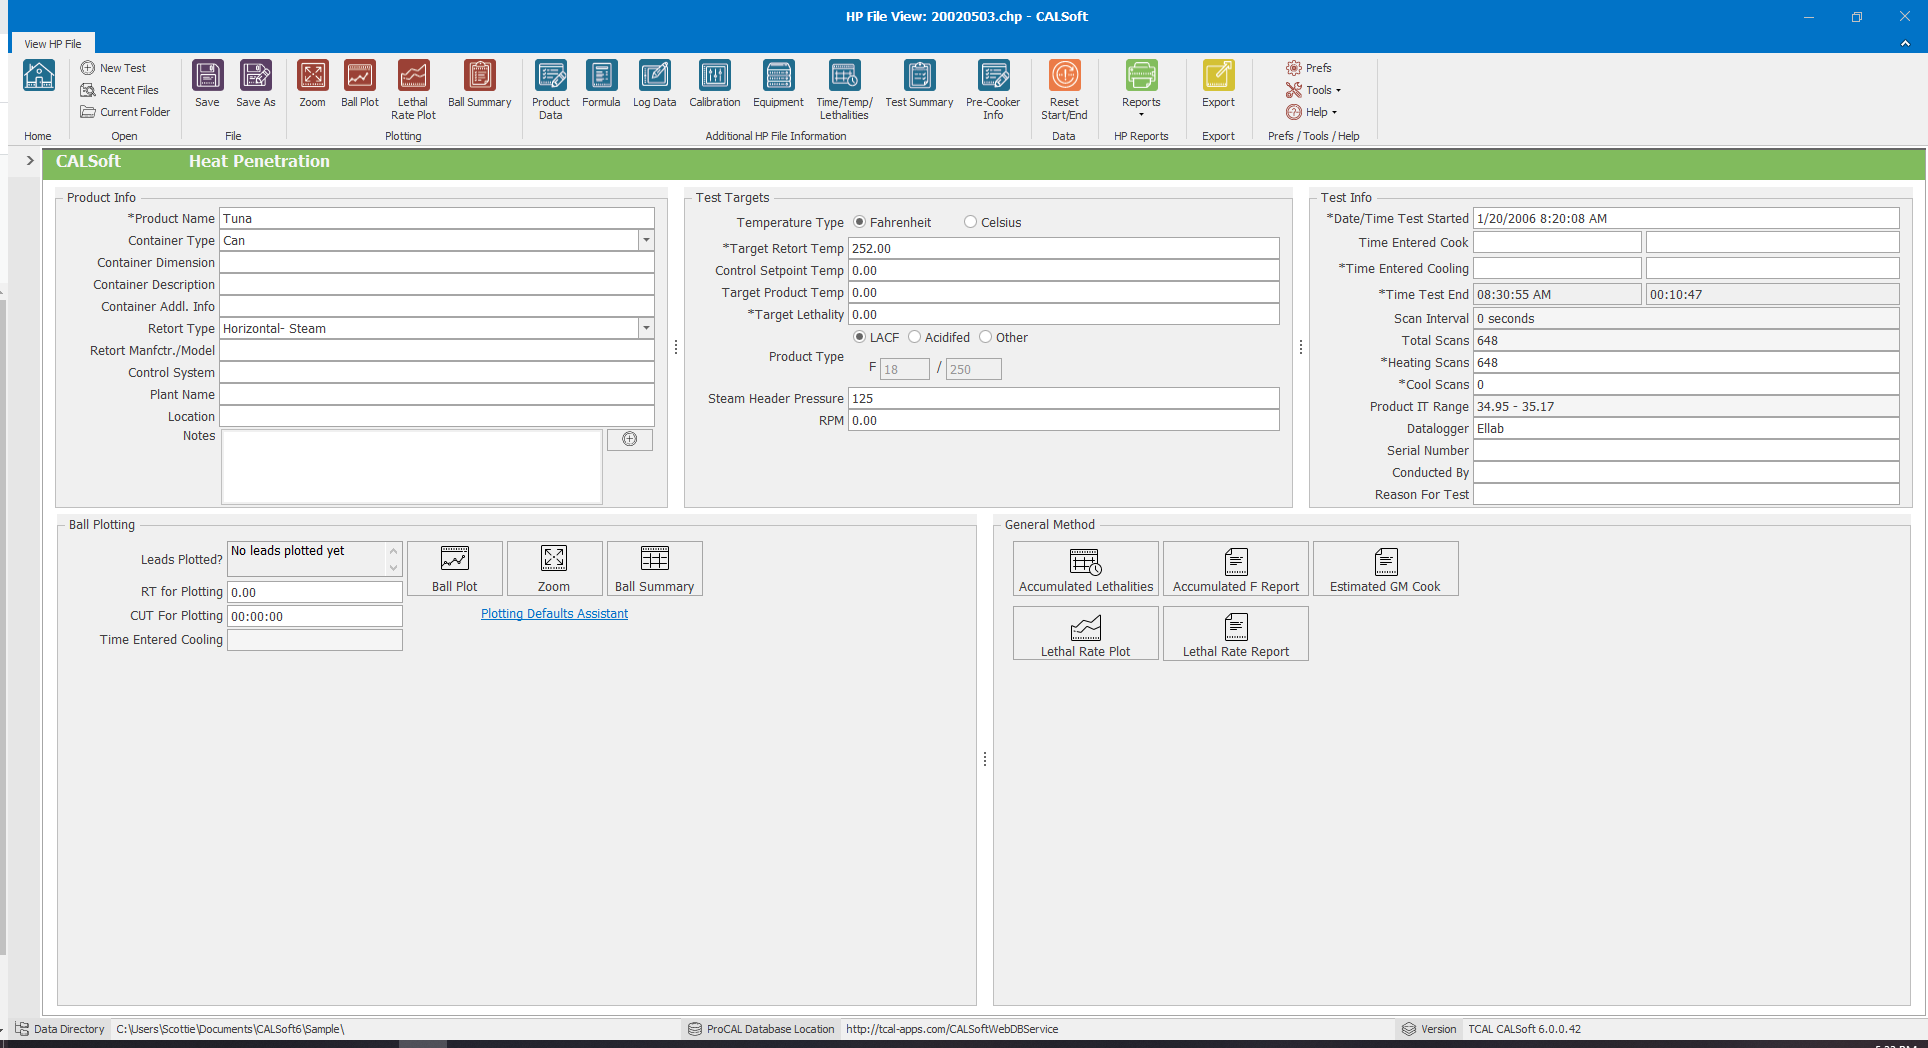
The Heat Penetration file is now created in CALSoft.