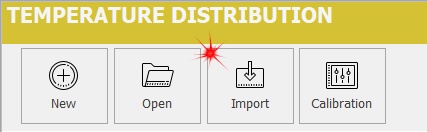
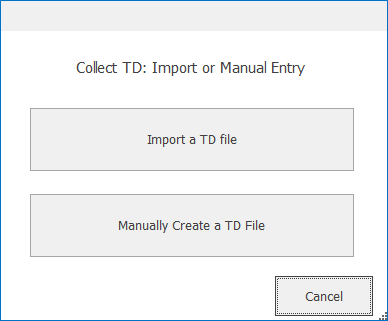
CALSoft 6 users can Manually create files. Simply click on the "Import" button and then select the "Manually Create a TD File" button and follow these steps:
- Choose the file name and save that file that you will manually create.
- The Manual File Creation form will be shown. This form has a few steps.
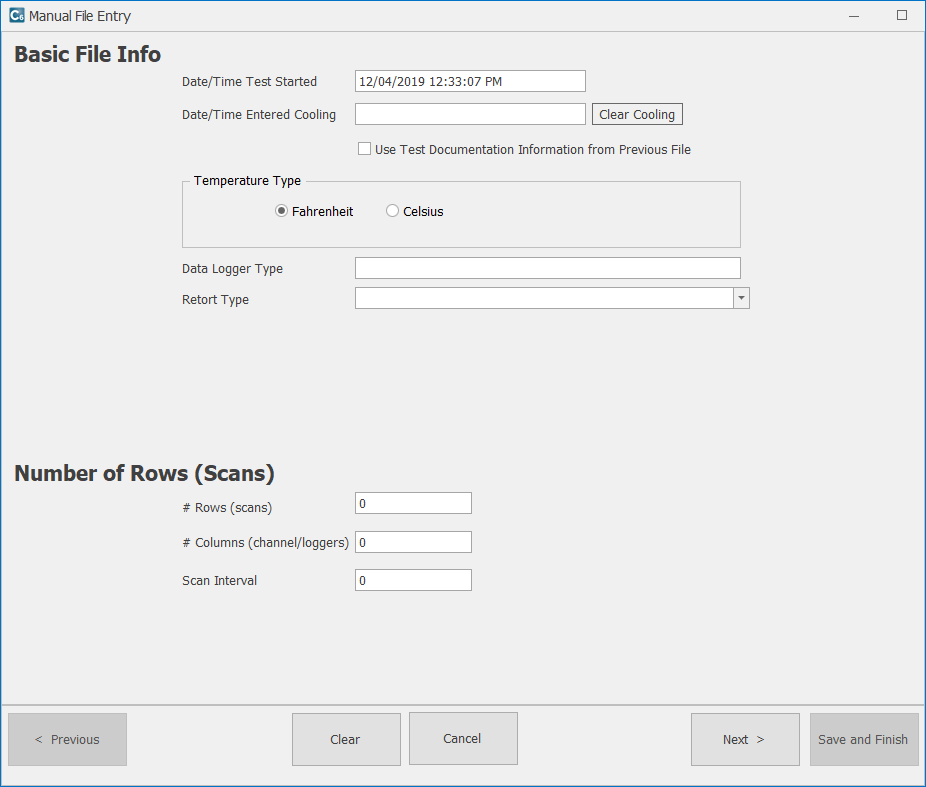
- The first step is to fill out the Basic File Info. Input the Date and Time the Test Started, as well as the Date and Time the test Entered Cooling. Choose the Temperature Type (Fahrenheit or Celsius). Input the Data Logger Type and select the Retort Type from the drop-down.
- The second step is to set the Number of Rows (Scans), Number of Columns (Channel/Loggers) and Scan Interval for the test. The Scan interval can be as low as 1 second. When you have set the Number of Rows and Number of Columns and Scan Interval, select the "Next" button to go to the Next step.
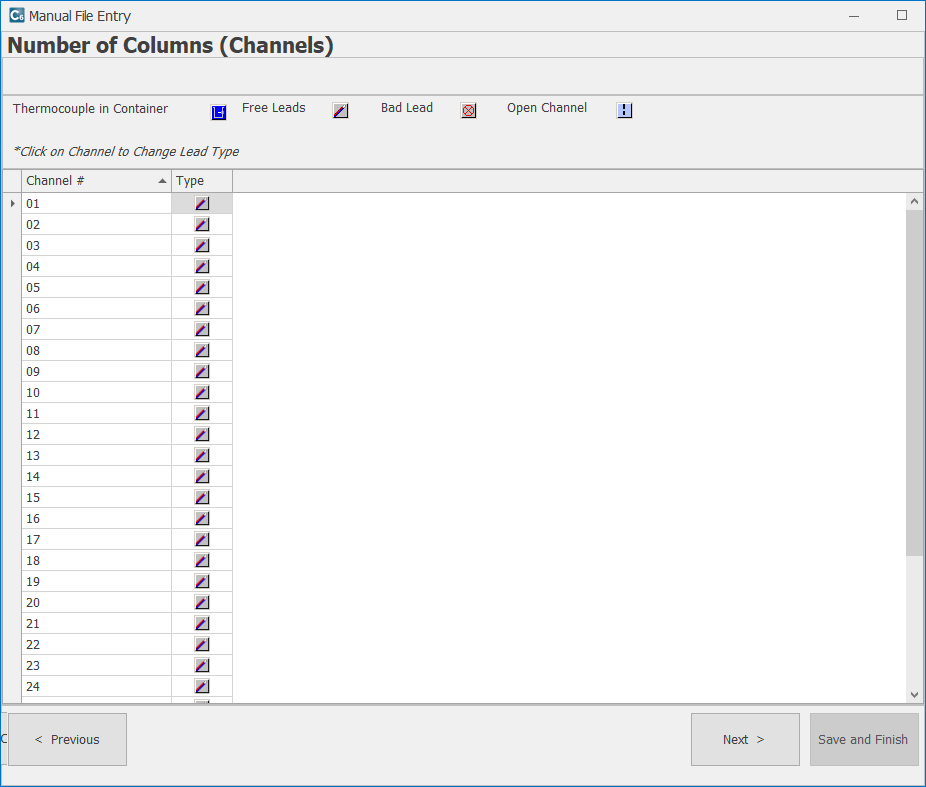
- The third step of Manual File Creation is to set the type of columns (Channels). Click a lead type next to a channel number to change that lead's type. By double-clicking on the Lead Type icon in the key above the grid, you can set all leads to that lead type. For example if you want to set all leads to Open Channel double-click on the Open Channel image in the Lead Type panel/key. When you are done with this, click "Next."
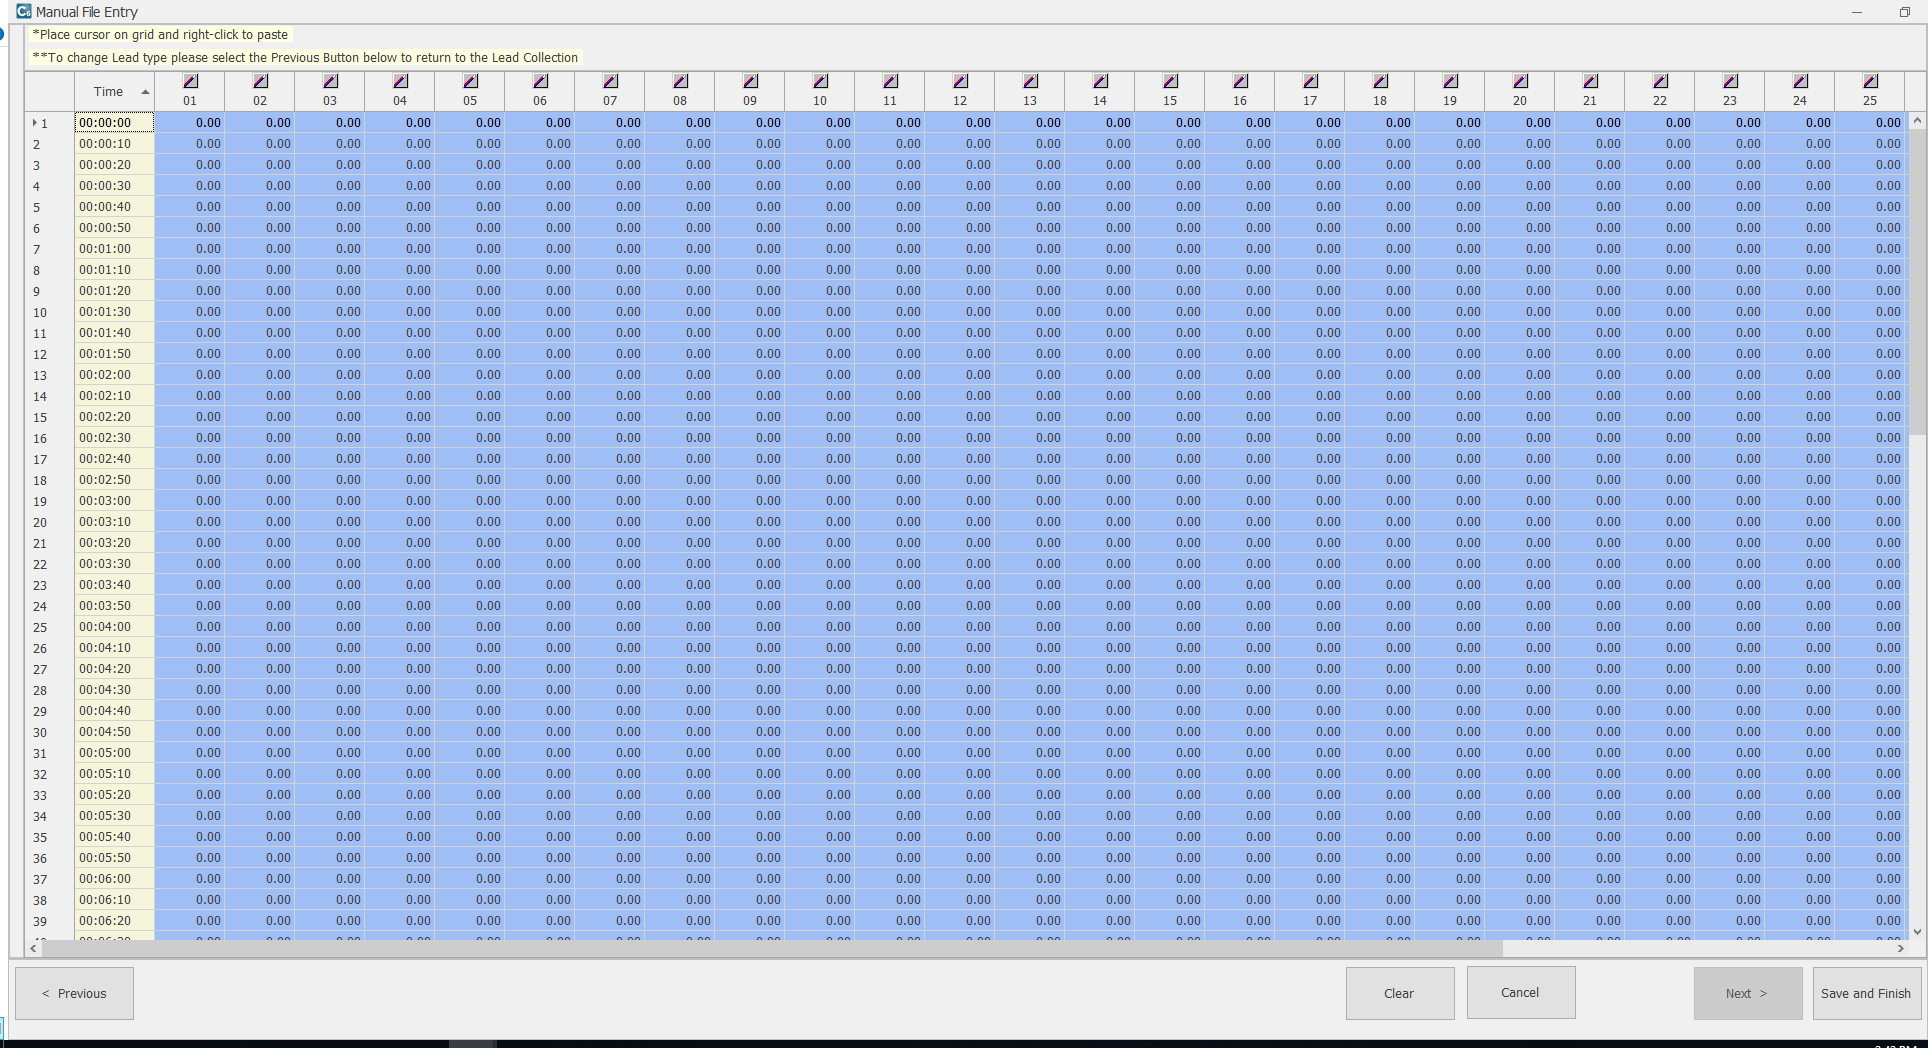
- The fourth step of Manual File Creation will show a time/temperature grid. You can input the new values by hand or you can copy a spreadsheet of temperature data from Excel and right click in the data grid to Paste the contents into the Grid. Note: only the temperature columns can be pasted into; the time column is set from the previous step. After you have set the data for this grid, select "Save and Finish" and the file that you have created will be saved.
- Next the Collect TD form will be shown. After creating a file with the Manual File Creation utility the user is taken into the Collect TD file viewer. CALSoft 6 now populates the file with Test Documentation information from the last collected or Imported/Manually Created file information. If the values that were input by default are not correct, the user can select the "Clear All" button at the top of the form.